Wednesday, October 24, 2012
Two little men and a princess!!
My hubby and I are, as you may or may not know, expecting our third child in March! We are sooo excited and defiantly could not wait to find out the gender of our baby. We are not so good at the whole waiting thing... So last week we anxiously went to our ultrasound appt. and once we knew our baby was perfectly healthy we wanted to know, PINK or BLUE!!! We have two little boys who we ADORE and would be so happy to have another, but I think deep down we were hoping for a little girl. So the results are in and we are happy to announce, IT'S A GIRL!!!!!! My husband had a feeling the whole time it was a girl but I thought for sure we would be blessed with another boy. When the ultrasound tech told us we will be having a girl I instantly I started dreaming of dresses, bows, ruffles, dolls and so on and so on! You see my boys are my world and I couldn't love them anymore if I tried! But knowing this is our last baby I'm excited to be able to experience raising a daughter also! My mom and I are incredibly close and I look up to her so much so it has always been a dream for me to have a daughter to share that mother daughter bond with. My older son was THRILLED because he has been wanting a sister since we told him we were expecting and our younger son is still to young to understand but I'm sure he will be just as happy! I feel so unbelievably blessed to have such an amazing husband who is already an amazing father and two boys who I love more than I think is humanly possible and now to be adding a little girl to the mix. My heart is filled with joy and I know with a wonderful daddy, a loving mommy and two of the best big brothers our daughter will be blessed as well! So now that we know the gender of our baby the fun begins...SHOPPING!!!!
Monday, October 15, 2012
Hooked on hooks!
Hooks come in a variety of sizes and function. They are a great way to maximize your space inexpensively. Here are a few ways we use hooks to help keep our house organized and tidy.
Here you have just a few ways we use hooks in our home. Hooks are inexpensive but they can really make a difference when trying to utilize the space in your home. The possibilities are endless and we are always coming up with new ways to organize with hooks! I would love to hear how you use hooks to organize!
 |
| My hubby is a "hat guy" so to keep them all together in an easily accessible place all I did was place small hooks behind his closet door and hung his hats there. |
 |
| These are the hooks I used for the hats. I got them from Walmart they came in a pack of 8 for .97 cents! Now that's what I call an inexpensive upgrade!! |
 |
| We have a small coat closet and needed a place for our frequently used bags and our son's back pack. The answer...well hooks of course! We use an over the door hook to keep some of our bags and we wanted to place our son's back pack lower so he can reach it and easily put it back so we used a command hook. |
 |
| There is nothing worse than being in a rush and realizing it's raining then trying to search for an umbrella. To save us from this annoyance I used a small hook that screws into the wall to keep our umbrellas. I put this hook inside our coat closet. It's easy to grab on the go and we never have to search for them again. |
 |
| Inside cabinet doors are a great place to keep all of those things that you use on a regular basis. We keep our measuring cups and pot holders here. Again, they are easily accessible and never get lost in drawers. |
 |
| Key hooks are a must in my opinion. To create this key holder I used screw in hooks that you can find cheap at any home store and then just added the key above for decoration. If you get in the habit of keeping your keys on the hook you will never have to search for missing keys again! |
 |
| Our home doesn't have a closet we could use for cleaning supplies so instead we hung this utility rack and keep everything organized in our basement stairwell. These utility racks are great because there are a lot of different hooks you can use and it's very sturdy. |
 |
| My closet is pretty full with clothes so I use an over the door hook to keep my most used purses. |
 | |
| I love chunky necklaces but they can be tricky to keep organized so I use this key hook and place my chunky necklaces on that. It separates them and keeps all in one spot. |
Tuesday, October 9, 2012
Just for kids!
When we first moved to our house and organized our kitchen I put all of the kid's dishes, silverware, straws etc. in with ours. Every time our son wanted to help by getting his own plate or silverware he needed our help. I got my wheels turning and thought of a way so he could easily access his own dishes, cups, silverware etc. After all we are supposed to be raising independent little people...right?! I always encourage independence it gives them confidence in knowing they can do something without mom and dad's help and it also makes our job a little easier! Yay for that!! So here's what I came up with as a solution...
By separating their dinnerware in categories it allows them to easily see and grab what they need. My older son is four and he sets his own place at the table and helps me unload his dishes from the dishwasher. It is a great way to foster independence along with confidence. We love our kid cabinet and I strongly suggest creating a special spot for all your kids dinnerware! I would love to hear where you keep your kid's plates, cups, silverware, etc.
 |
| We have a lazy susan which I hated using for food. So instead I converted the top shelf into our kid cabinet! I found these neat little bins from you guessed it the Dollar Tree and it nicely separates their bowls from plates. |
 |
| We keep their cups, sippys and silverware in this bin. |
 |
| And straws and ice cream bowls in this bin. |
Monday, October 8, 2012
Fall decorating on a dime.
I love everything fall! The colors, the weather, the smells, just EVERYTHING about fall! Needless to say it would be very easy for me to go overboard with decorating for the season. As you all know we are a one income household so that means we live on a budget and I'm always trying to find ways to stretch a dollar. Here are some fall decorations that I've found for pennies!
Without spending much money at all I put together these fall decorations that add some warm colors to our home. Don't forget to look right outside your house for inspiration. By using branches, leaves, acorns and pine cones you can get creative and make some beautiful seasonal decorations for free! How do you decorate for fall?
 |
| I put together this fall festive candle by using leaves and berries that I found at the Dollar Tree. I just placed them in a vase I already had and added the candle. |
 |
| This arrangement was made up by Dollar Tree flowers, pumpkins I found at Walmart, berries, and pine cones. |
 |
| The pumpkins came in a large pack from Walmart I put some in the vase and then scattered the rest around my house. |
 |
| This was made again by using Dollar Tree flowers and branches I found right in my yard. |
 |
| Here's another Dollar Tree arrangement this time I used a smaller vase so I just cut the stems down to size. |
 |
| Yet again more flowers from the Dollar Tree! This time I stuck them in a plant I already had |
 |
| The small pumpkins add a touch of color throughout our home. |
 |
| Last but not least you can't forget about kitchen towels. I found these at Walmart for 98 cents!!! |
Thursday, October 4, 2012
Toys, toys, and more toys!
Let's face it kids and toys go hand in hand. Most kids have A LOT of toys so how do we keep them all neat and organized if we don't have a lot of space? I was faced with this question so I followed these steps.
- Assess your space. Figure out what works for your family when it comes to the placement of your child's toys. For example, do you spend most of your time in one general area? If so, then try to figure out if there is an area of that room to place your kid's toys.
- Find a storage solution that works for that particular space and the toys being placed there.
- Purge your kid's toys. Too many unused toys creates unwanted clutter. Keeping your kids involved in this process makes it much easier. Every year before their birthdays and Christmas together we go through their toys and "find new homes" for their old toys to make room for the new. We make a pile of keep and donate. I explain to them that other children will love their unused toys and they will go to good homes where they will be played with more often. Knock on wood, this technique has been working so far.
- Get your kids involved with the new placement and organizing of their toys.
 |
| We have an open concept home and our living room is one of the first rooms you see as you walk in so we didn't want it looking like a toy room. |
 |
| We chose to designate the far wall for kids toys. |
 |
| We chose this shelving unit from Ikea because it blended in with our decor and the cubbies provide a lot of storage. I have separated my kid's toys by keeping my older son's toys on top and my younger son's on the bottom. Each basket holds a different type of toy for example, cars, power rangers, blocks, etc. By organizing them like this my kids know where their toys "live" and where to put them back. |
 |
| We chose to double our laundry room as a toy room. It's right off the kitchen so I can help keep them entertained even if I'm cooking. The table and chairs are not only used for breakfast, lunch and snack but also as a place to do crafts and puzzles. |
 |
| We keep all of our craft supplies in the basket above the kids table for convenience. |
 |
| On the opposite wall is this shelving unit. It holds my older sons puzzles and toys in the top two bins and my younger sons toys in the bottom two bins. Behind the doors on the bottom are a few more smaller bins with toys for my younger son to play with and explore. |
 |
| Our basement is unfinished but we wanted to create an area where our kids could go and expel some energy if the weather doesn't permit us to go outside. We painted the concrete walls and put a carpet down. We keep our Wii and a variety of other toys down here. My kids have a BLAST! |
 | |||
| We like to keep our big active toys down here. |
Wednesday, October 3, 2012
A solution for "pocket clutter."
One of my pet peeves is "pocket clutter." You know the clutter that is created when you (or your significant other...cough cough) walk through the door and dump your wallet, cell phone, keys, etc. onto the table or counter. It just looks messy and before long you get those same nagging questions, " have you seen my keys, wallet, piece of paper, etc. I thought I put them down somewhere..." Yep kind of annoying. It was happening WAY too much in our household so I put my foot down one day and came up with a solution. His and hers baskets. Pretty basic, just two baskets placed by the door to dump all that "stuff" we keep in our pockets or wallets.
I love finding easy solutions that work for our family and would love to hear some solutions you've come up with to solve your daily annoyances!
 |
| I just took two baskets we had lying around the house, labeled them, and voila a solution to our "pocket clutter!" Gone are the days we frantically search for our belongings as we rush out of the house PHEW! |
 |
| We placed them on this console table right by the door so as we come in we drop our stuff in and it's there when we need it! |
Tuesday, October 2, 2012
Wall Organizer
So I have discovered an amazing organizing tool. It's the wall organizer from "Thirty One." If you haven't heard of "Thirty One" they are a company which sells bags, purses, organizing things etc. After searching for a neat and organized way to keep all of our family's schedules, household forms, appointments etc. I found this wall organizer and let me tell ya I LOVE it!! I tried using a household management binder (it's a binder system that holds all of your family's important info.) but found it to be inconvenient for us because every time we were looking for something we had to flip through a binder. Anyways, I found this and fell in love!
This wall organizer has defiantly simplified our lives by creating a central area keeping all our information organized and easily accessible. I highly recommend finding what works for you and your family and creating some sort of "command center" where you can keep all your family's schedules and household documents in one general area. I would love to hear what works for you!
 |
| This wall organizer keeps everything we need in one place and is easily visible. We keep our weekly schedule at the top left, my cleaning routine on the top right, appointments/ upcoming events in the middle left, the calendar in the middle, dry erase pens on the middle right, and then in the four large pockets we keep take out menus, coupons, things that need to be taken care of in the near future, and things that need to be filed. It's our family organizer, coupon organizer, calendar, mail organizer etc. all in one! |
 |
| We keep it centrally located on the wall separating our kitchen and living room so that way it's easily accessible. Also, we keep our filing cabinet right underneath for convenience. If there's a lot of mail and I can't file it all right away we simply put it in the to be filed pocket and file it when we can. |
 | ||||||
| I also purchased this little bag from "Thirty One" which holds our pens in the front pocket and envelops/ paper in the larger pocket. This eliminates the frantic search for paper and a pen when you need one in a hurry. |
Monday, October 1, 2012
Cute Halloween projects to do with kids
October is here that means Halloween is approaching! Time to get out your spooky decor and get your sweet tooth ready! Today my older son and I got crafty and made some cute Halloween decorations. My older son Dylan is four and loves crafting with me! It is so much fun to see how excited he gets when he sees his creations come together not to mention it's a great bonding opportunity. Here are a few easy but fun Halloween projects to get you in your family in the spirit! Happy crafting everyone!
These projects were very fun and easy to create and added a lot of Halloween spirit to our home! I would love to know some of your favorite Halloween crafts or traditions! Happy crafting everyone!
 | |||
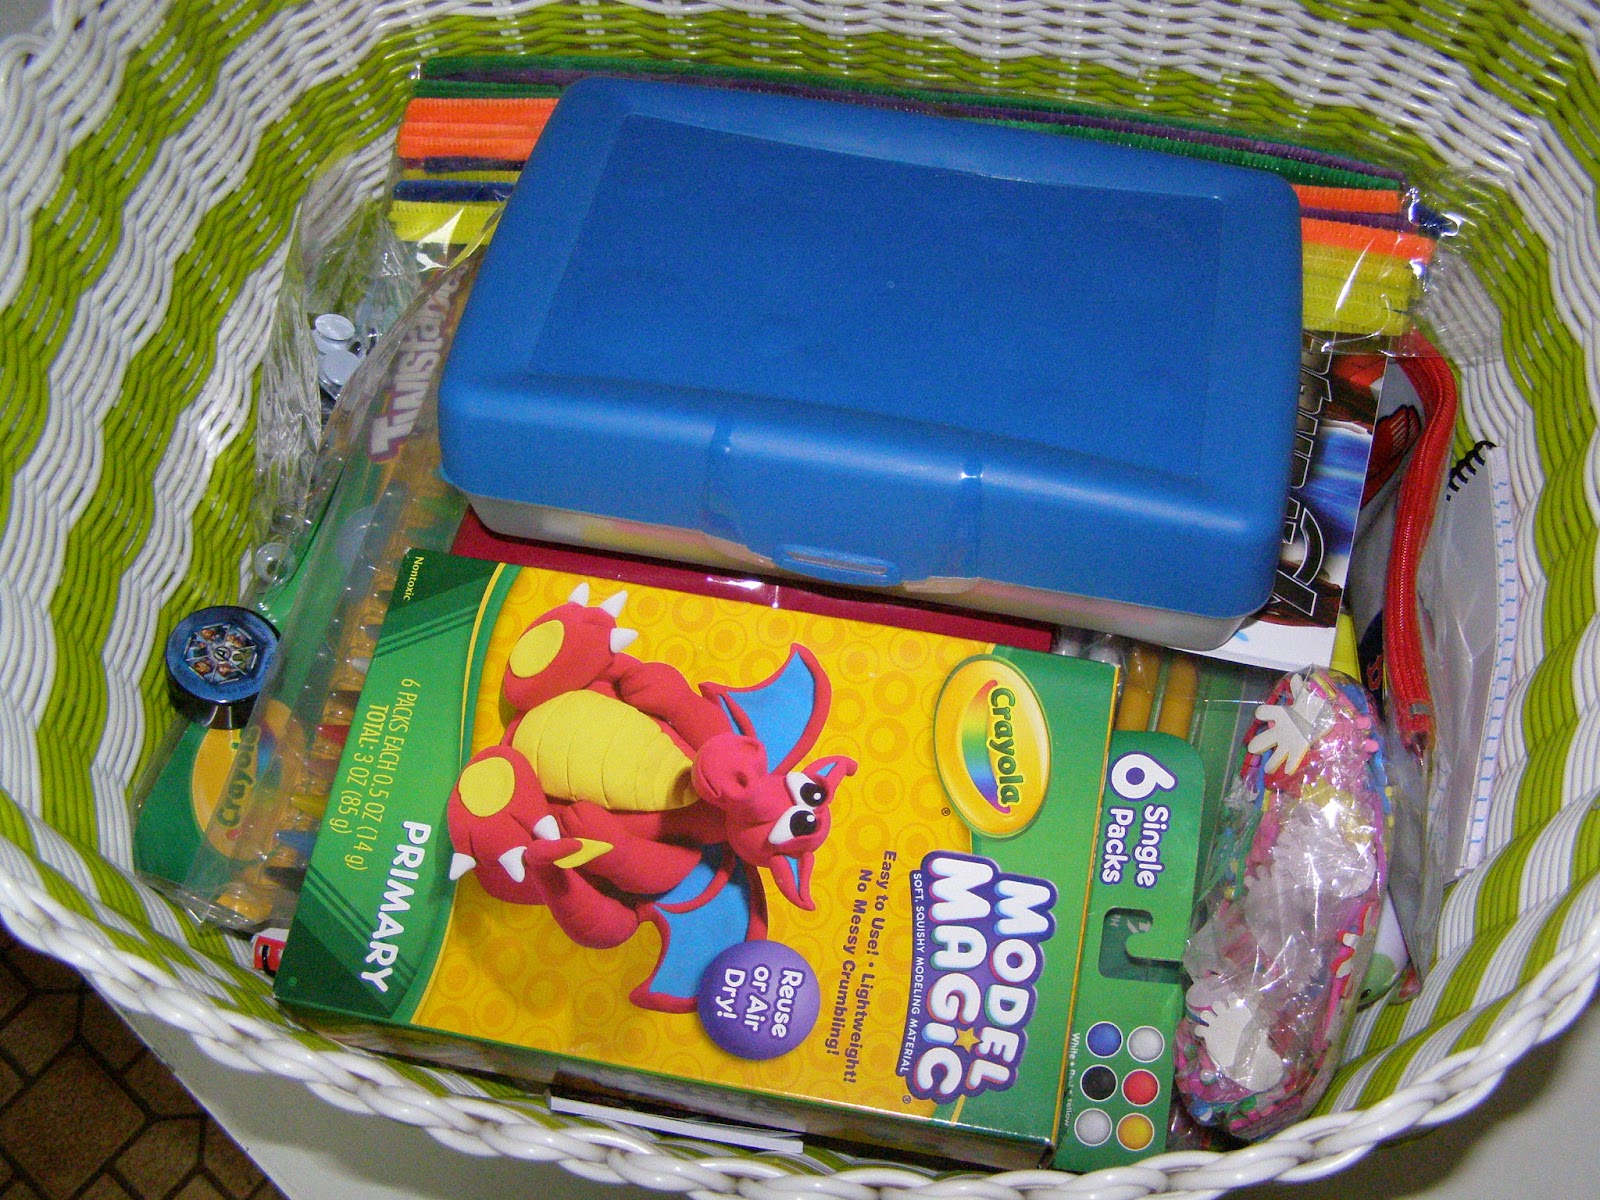
| Here are some of the supplies you will need in order to create these spooky decorations. Crayons, construction paper, pipe cleaners, googly eyes, small paper plates, tape, scissors, glue, and tissue paper. |
 |
| For the first project I drew ghosts, bats and pumpkins on construction paper (clearly my art skills are lacking but thank goodness my son doesn't judge me...yet) |
 |
| Then cut the shapes out. |
 |
| Dylan and I drew faces on the pictures then hung them on our glass doors. |
 |
| For the next project we used the small paper plates and Dylan glued the googly eyes onto them. |
 |
| Then on the other side of the plate I lined up the pipe cleaners. |
 |
| Taped them on and bent the "legs" |
 |
| and as easy as that we have cute little spiders! |
 |
| They made a cute addition to our door! |
 |
| For this project we did the same thing as with the spiders, simply glued on some eyes and Dylan added a cute smile. Then I taped some tissue paper onto the back creating a cute little ghost! |
 |
| This ghost was made by simply scrunching up some tissue paper for the head and tying some fishing line around it leaving enough extra to hang it up. |
These projects were very fun and easy to create and added a lot of Halloween spirit to our home! I would love to know some of your favorite Halloween crafts or traditions! Happy crafting everyone!
Subscribe to:
Comments (Atom)